US Orders over $50 ship for free!

Guest Design - Build A Scene with Accessory Stamps with Ksenija Rizova

October 06, 2018 1 Comment

Guest Design - Build A Scene with Accessory Stamps with Ksenija Rizova

Why to use accessory stamps included in sets?  How can you stretch your stamps sets with smaller stamps?
Build A Scene with Accessory Stamps with Gerda Steiner Designs Reindeer And A Tree
Hello Everybody!

It's Ksenija here and I am very excited to be guest designing for Gerda Steiner Designs in October.

Today I am featuring the Reindeer And A Tree 4x6 Clear Stamp Set. This set includes eight main stamps - a tree, Santa and six reindeers, as well as several accessory stamps for decorating Christmas Tree.

My FIRST card with this set illustrated a scene of decorating a tree.

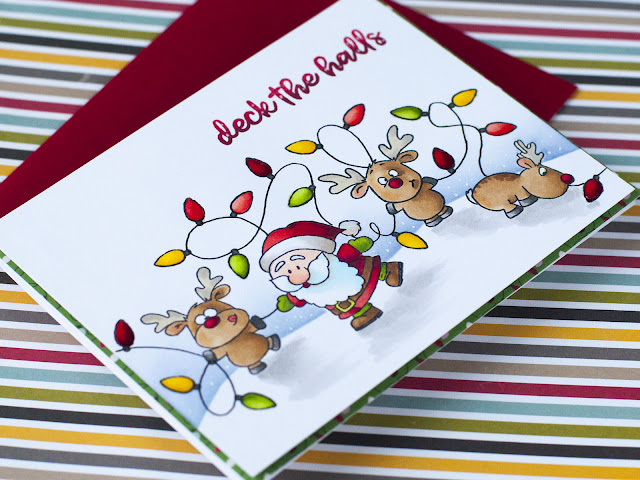
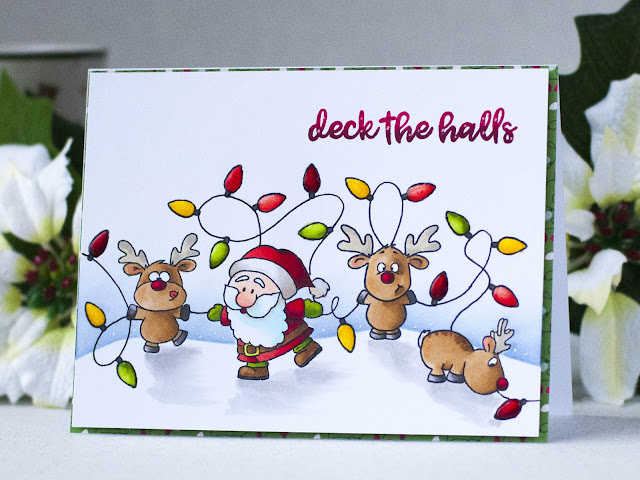
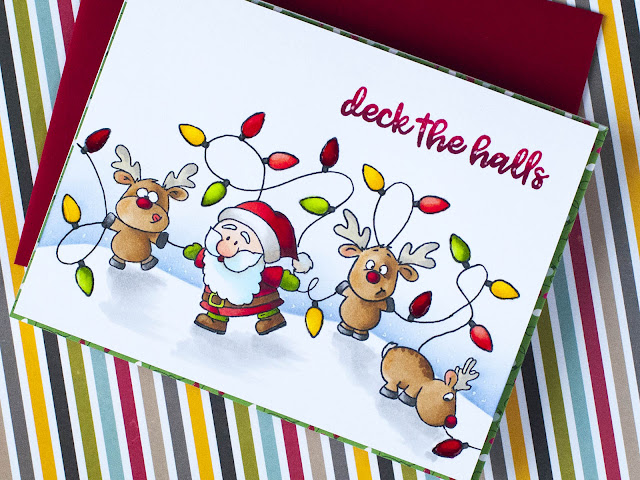
This time my aim is to show you how to build a new scene with accessory stamps, like light bulbs from the Reindeer And A Tree stamp set, for instance.
Build A Scene with Accessory Stamps with Gerda Steiner Designs Reindeer And A Tree
Accessory stamps are small images complementing the main images, which can be used for decorating a card.

Using accessory stamps

  • stretch your stamps sets possibilities 
  • facilitate creating new scenes
  • connect images in one design
  • and introduce colourful details.

Tips on making this card


  • Start with stamping Santa and three reindeers down onto a white card stock panel sized 5 3/8" by 4 1/8" in alcohol marker friendly ink.
  • Trace a wire with a pencil and stamp down light bulbs.
  • Using alcohol markers colour the images.
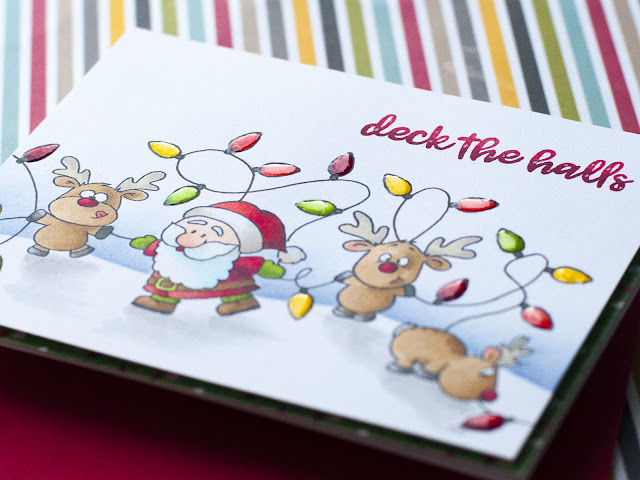
  • Apply glossy glue to the light bulbs and let it air dry completely. It is difficult to make tiny masks for light bulbs. Glossy coverage will resist inks during ink blending.
Build A Scene with Accessory Stamps with Gerda Steiner Designs Reindeer And A Tree
  • Stamp reindeers and Santa images to a masking paper and fussy cut out the images.  
  • Cover the reindeers and Santa with masks and mask off the lower part of the card panel with a fussy cut mask to create a horizon line. 
  • Blend softly two shades of blue dye inks above the mask.
  • Remove all the masks and add shadows on the snow with an alcohol marker.
  • Draw a wire with a permanent ink pen.
  • To create ombre effect on the sentiment pick two shades of red inks. Firstly, ink the sentiment with the lighter shade ink completely and stamp down to the card panel. 
  • Then apply the darker ink to the lower part of the sentiment stamp and dab off ink with a soft paper tissue, then stamp it down.
  • Trim a bright patterned paper sheet to 5 1/2" by 4 1/4" and glue it to a white card note.
  • Foam mount the card panel over.

Build A Scene with Accessory Stamps with Gerda Steiner Designs Reindeer And A Tree
Are you feeling inspired to use accessory stamps to create a new scene?

Thank you for stopping by! I wish you a beautiful day.


1 Response

Leanna
Leanna

October 09, 2018

Love this design! Such a good way to use those little stamps.

Leave a comment

Comments will be approved before showing up.