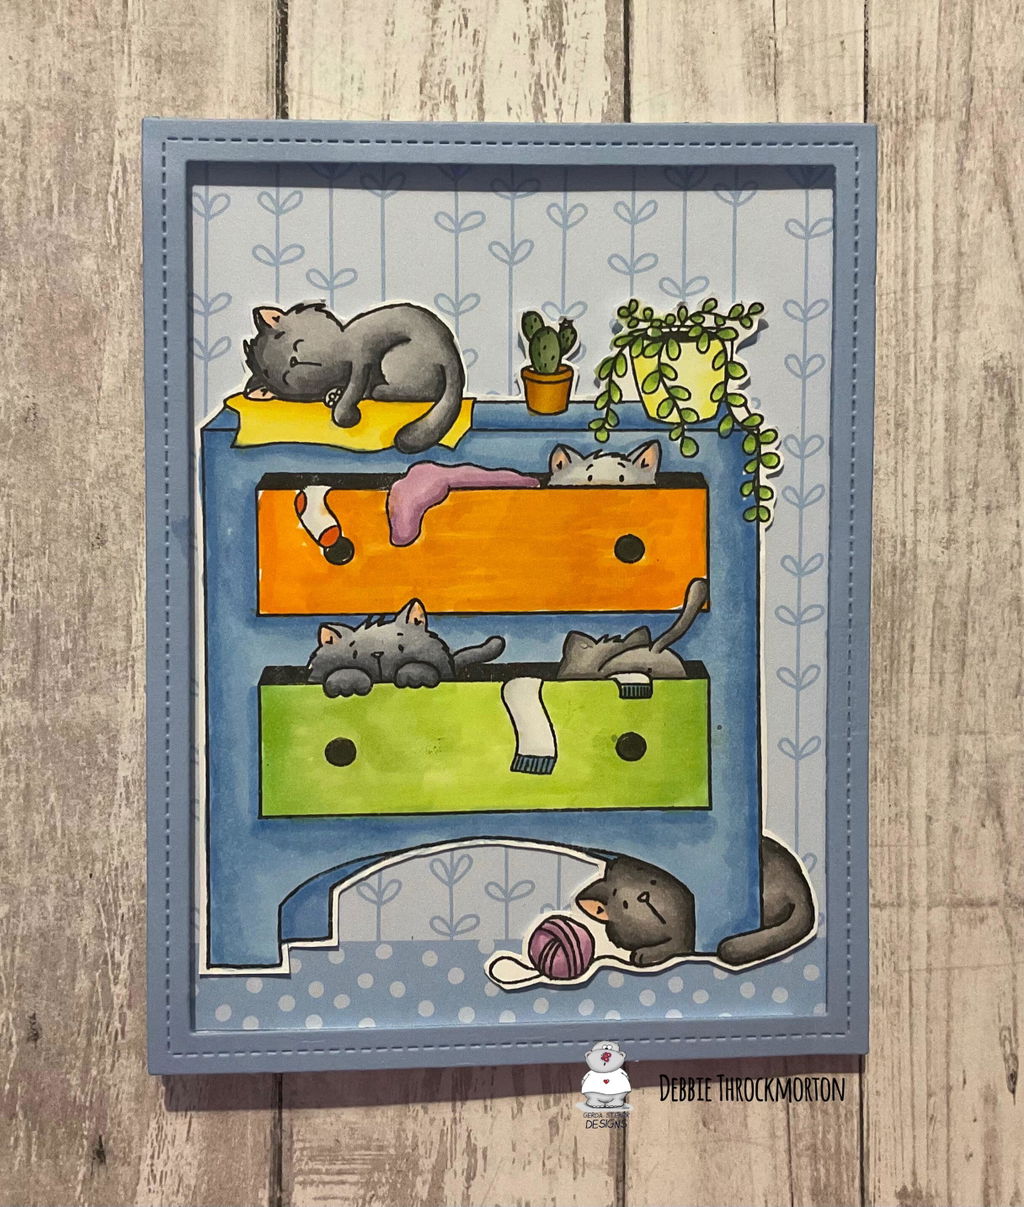


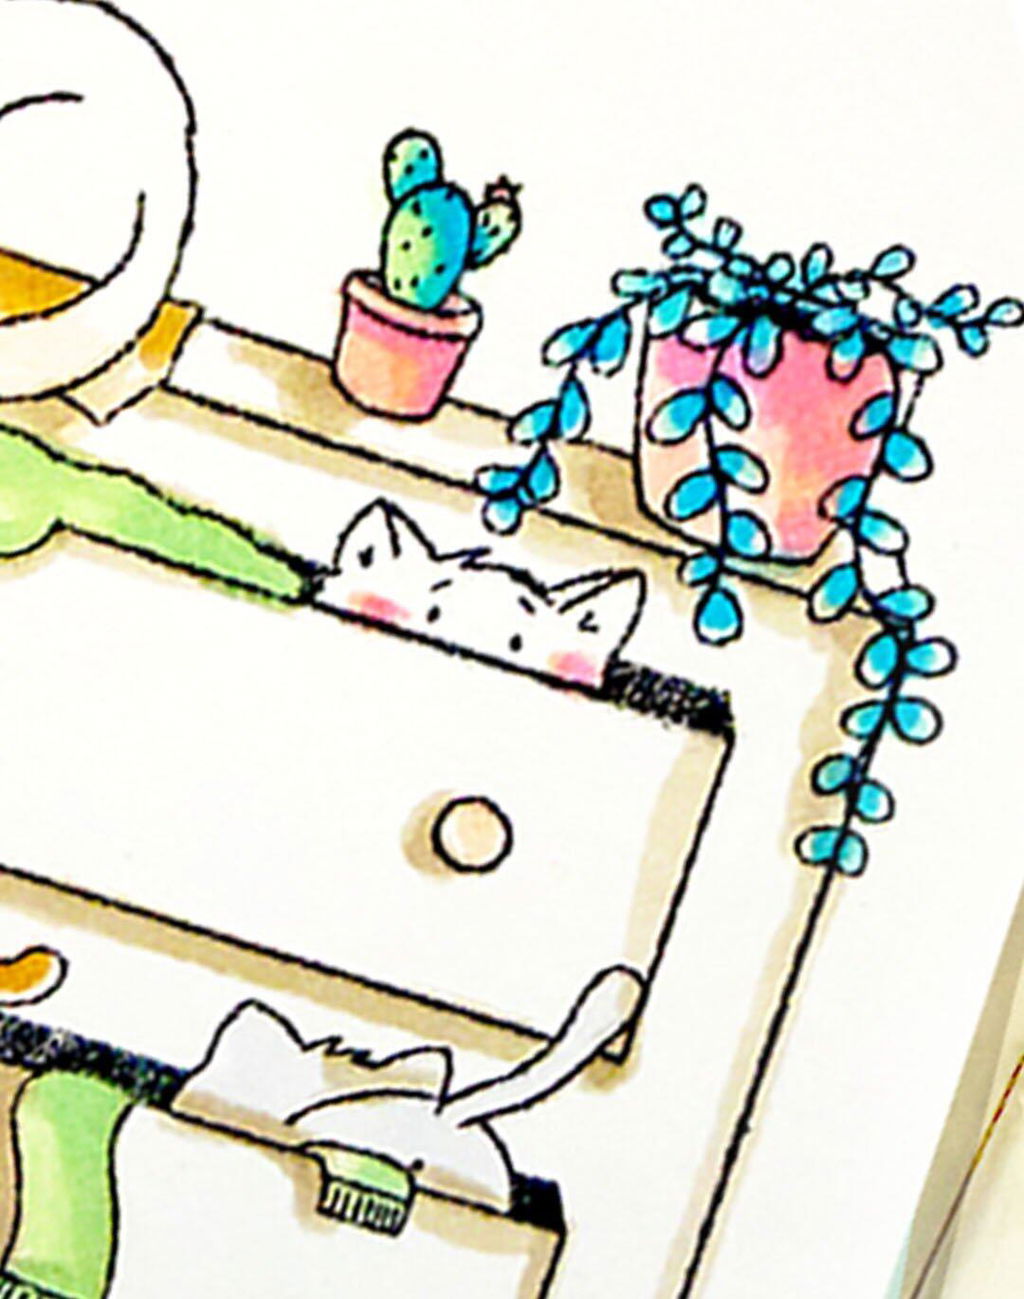
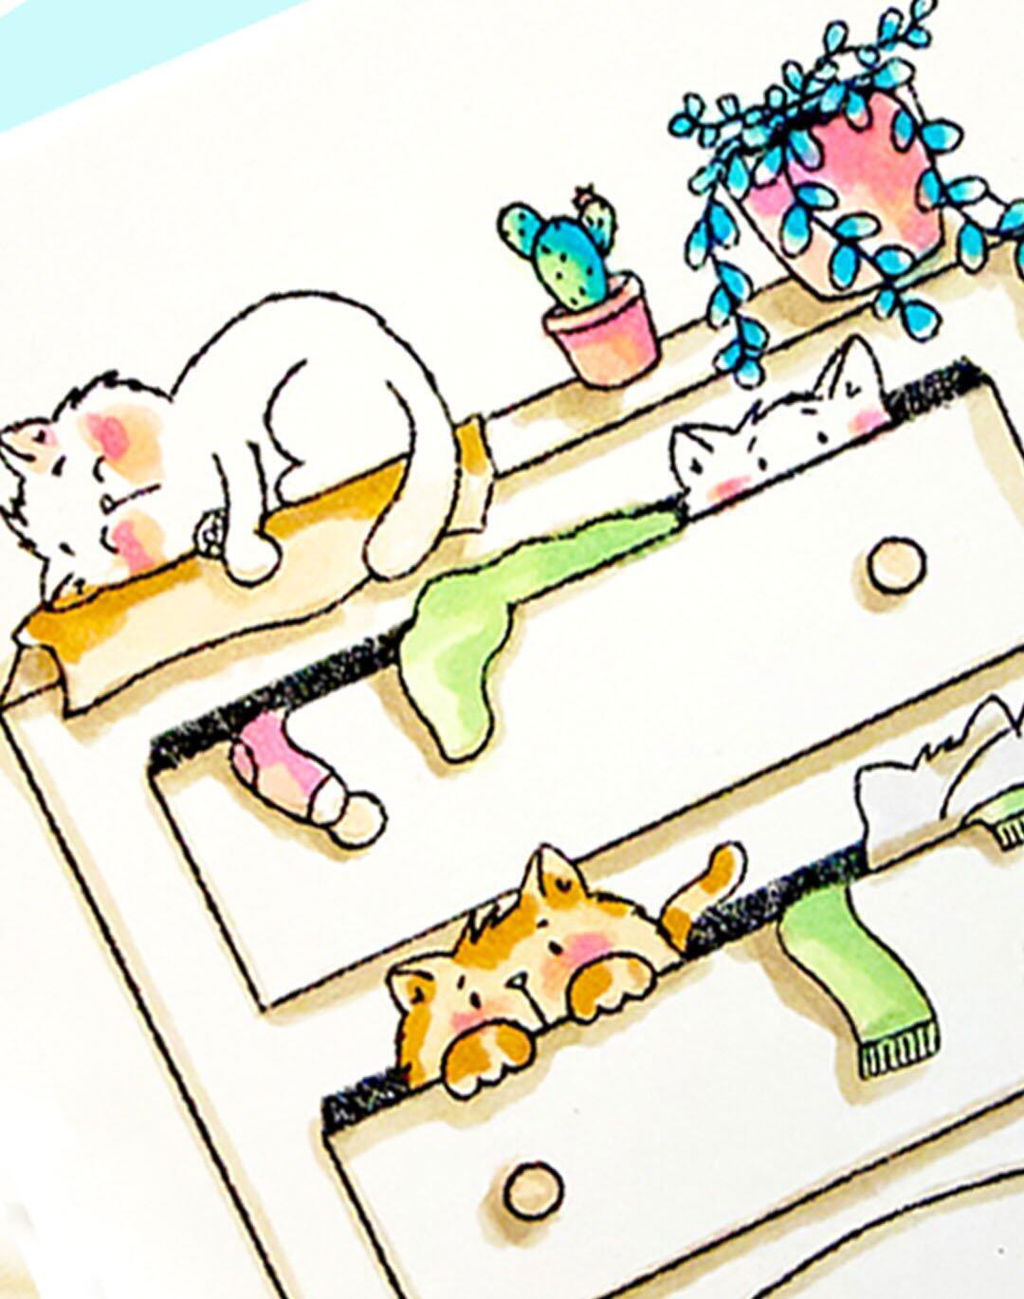
Fun full card design for easy card making! Love the peek-a-boo cats and fun mass card making you can achieve with this set!

Still love this stamp set! Are there going to be dies for this set?
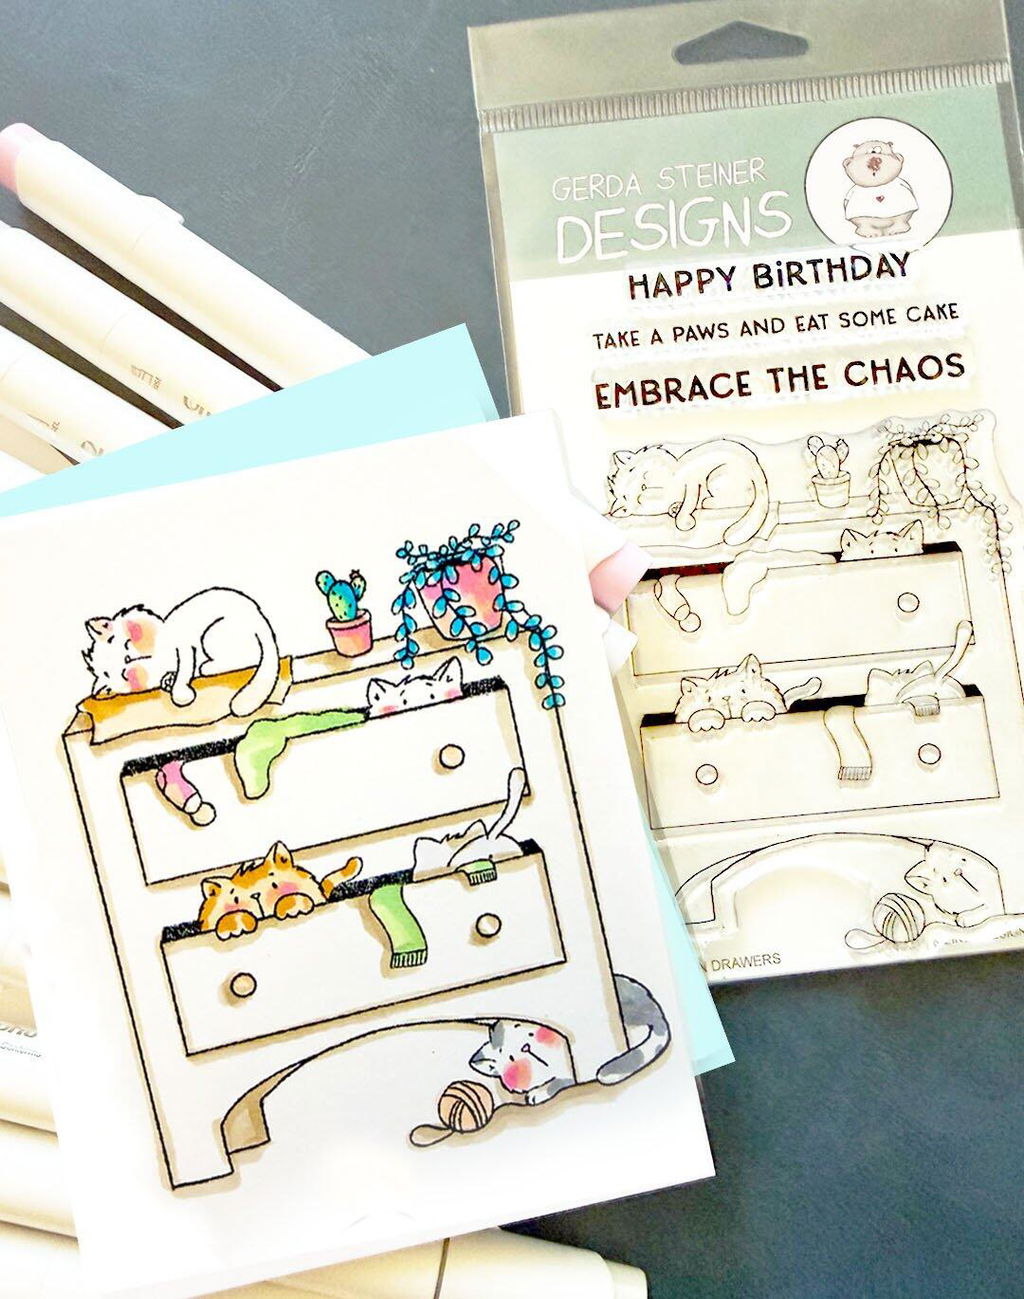
These are the cutest stamps!! I love every stamp I get from you- these are going to be so fun to play with.
I had so much fun playing with this stamp. It will be perfect for making and giving to all my cat loving friends. This all in one stamp is great for when you don’t want to have to think about what stamps to combine to create a scene. The scene as been created!!