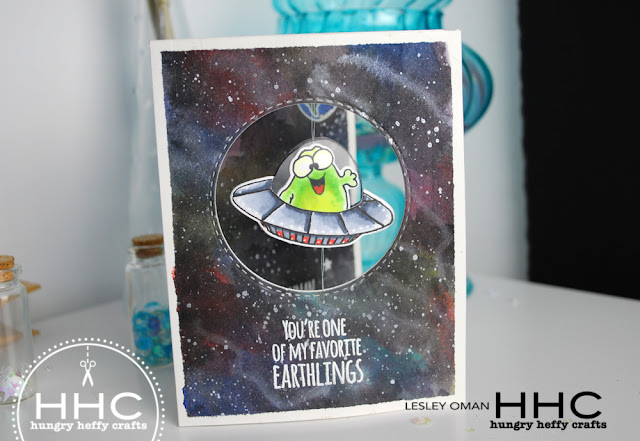
Guest Designer - Lesley Oman with a Galaxy Watercolour Background Alien Spinner Card
January 12, 2017
Hello everyone, and thank you for having me as a guest designer here on Gerda Steiner Designs. My name is Lesley Oman, also known as Hungry Heffy from Hungry Heffy Crafts.
Today I am sharing a video tutorial on how I created this fun UFO spinner card with the adorable Alien Invasion stamp set and coordinating dies. As soon as I saw this set, I knew exactly what I wanted to create - a fun, interactive, spacetime scene!
The video walks through exactly how I created the card, but heres a quick run down of the steps I took.
To begin, I trimmed up two panels of watercolour cardstock so I could create the basis of the card. One panel is 5.5 inches x 8.5 inches, and the other is 5.5 x 4.25 inches. I taped them to a craft mat with some masking tape and reached for my watercolour paints, as I wanted to create my own watercolour galaxy effect background.
This is a fun technique, and you will see in the video that it very much looks like a hot mess for a while, but before long it all comes together to create a SPACE-TACULAR background! I flicked white paint onto the panels with a paintbrush to create clusters of stars.
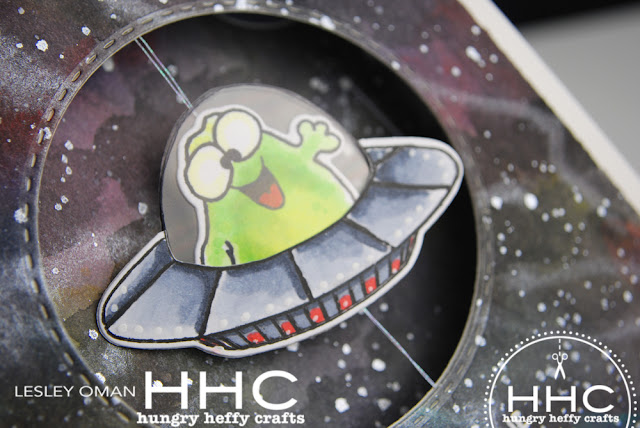
Whilst my watercolour was drying, I used my MISTI tool to stamp the alien and spaceship images onto some copic friendly paper. I also needed to create a matching reverse image for both items, so I used a mirror stamp to do a little mirror stamping. This is a fun way to reverse your stamp images, and is perfect for creating spinner elements like this! I also had the idea to create the illusion of glass in my UFO using acetate. I think this really makes the whole thing come to life!
I coloured in my stamped images with a little copic colouring, and then assembled my alien in his UFO, making sure to sandwich a doubled up piece of sewing thread between the two alien images. This is what will make the flying saucer spin!
Before long, my watercolour panels were dry so I creased the larger piece with the painted side facing in - this then became the base of my card. Then I used washi tape to temporarily stick the smaller painted panel to the front, and using a circular die, I cut an aperture in the front of my card - through both layers of cardstock.
I was then then able to secure the thread using sticky tape, so that the flyer saucer was positioned beautifully in the middle of my circle aperture, between the two painted piece of cardstock. In the video I share a TOP TIP to ensure that the thread doesn't loosen or get accidentally pulled out!
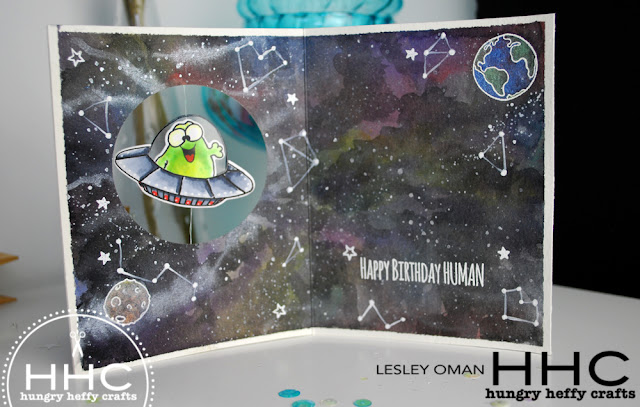
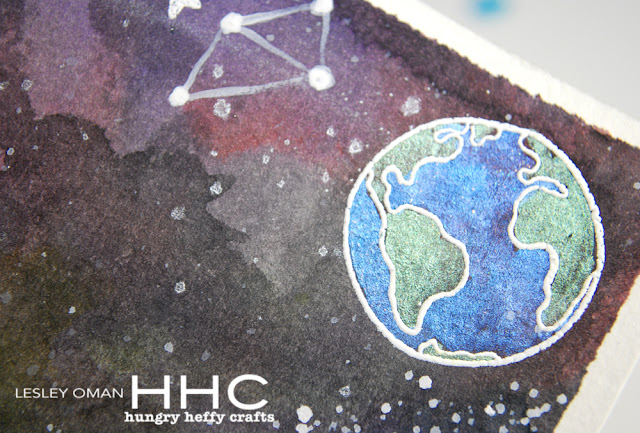
Once my UFO was in place, I could adhere the top panel onto the card base, and finish the project with a few extra features. I added a stamped greeting to the front and inside of the card, as well as two images which I watercoloured with my Artquest Stargazers pearlescent watercolour paints. I even used some white gouache and a fine paintbrush to add a few more dominant stars and some cute constellations! I just love that these stamps all work so well together!
And now the card is done! All you have to do is gently turn the UFO round and round, and you will see the thread twisting over itself. Closing the card will hold the alien in place, but when you open the card -- WHOOOSHHH - this cute extraterrestrial is having extra fun as he whizzes across the universe! :-)
Be sure to watch the video for more details on how to make this card and thank you once again for letting me be a guest designer on the blog today! I am very blessed.... and a little dizzy from watching this sweet little guy spin round and round..... but he is just so addictive! :-) You can check out more of my projects over on my blog Hungry Heffy Crafts or see more videos over at my YouTube channel YouTube.com/hungryheffy
have a great day, and until next time.... happy crafting!
Lesley
Gerda Steiner stamps have their own special sweetness and charm. They are excellent quality and service is prompt and reliable. I can’t wait to do a project with these.
I really like the bear in the wreath in the Beary Merry Christmas stamp set! His smile is SO cute!! The stamp colors up so nicely too and the wreath can be highlighted with Christmas balls using any number of embellishments. The whole set is going to be fun to use.
I love this digital stamp!! It is super cute and what a blast to color! I opened the file in Illustrator sized it to my card easily and added some text. I can't wait to do more! Thank you for such a fun design.