


 Hello Crafty Friends! I am thrilled to be Guest Designing again for Gerda Steiner Designs! Today I have a couple of birthday cards to share with you featuring the absolutely adorable Strawberry Mouse Clear


I have use it yet only my test run in which I just stamp on random stuff and from the looks I like it
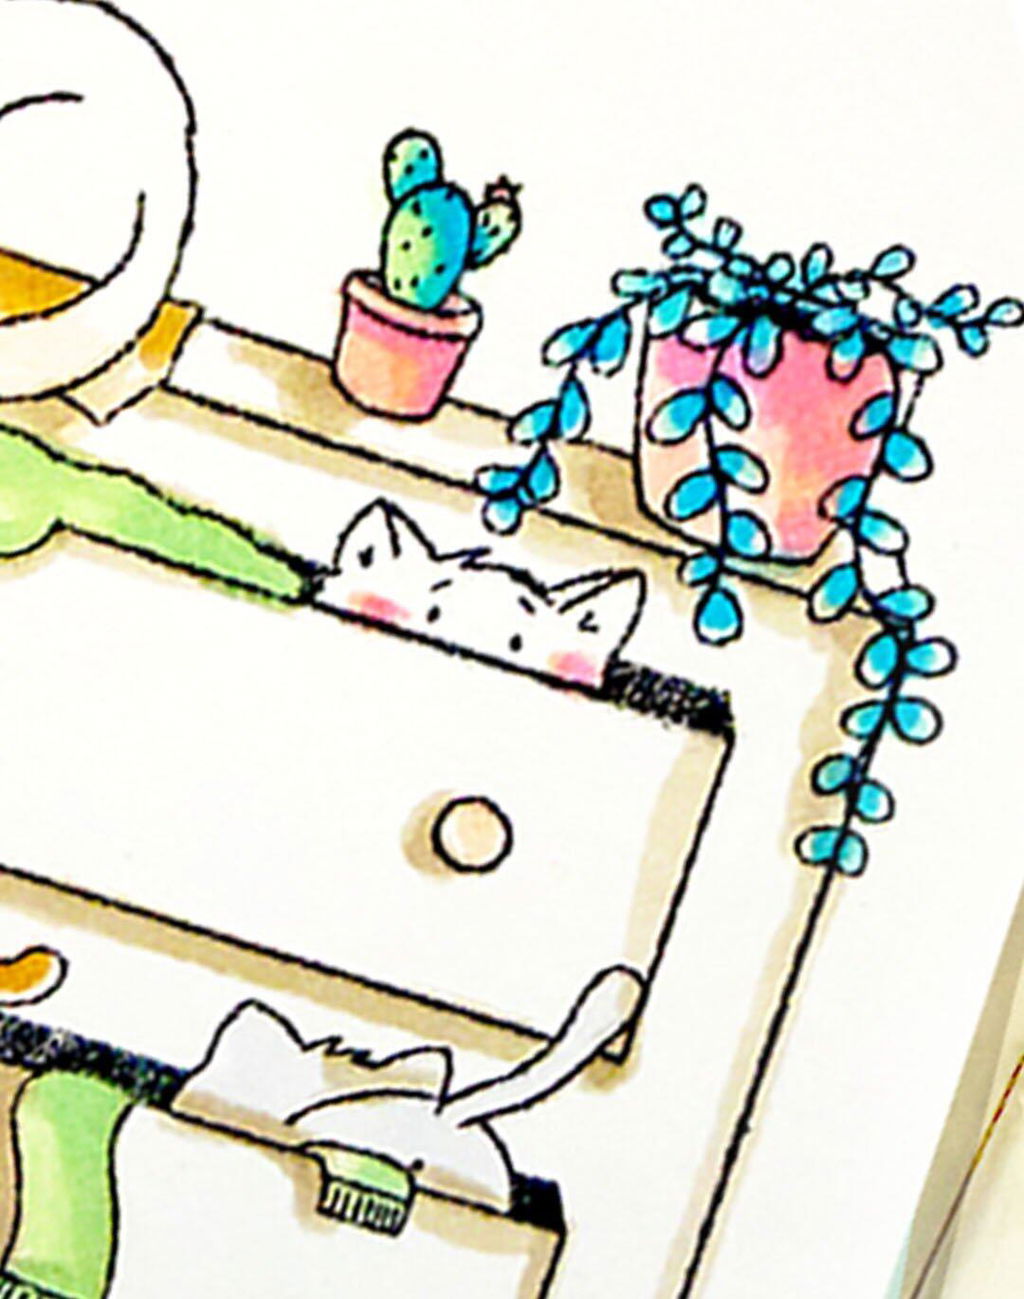
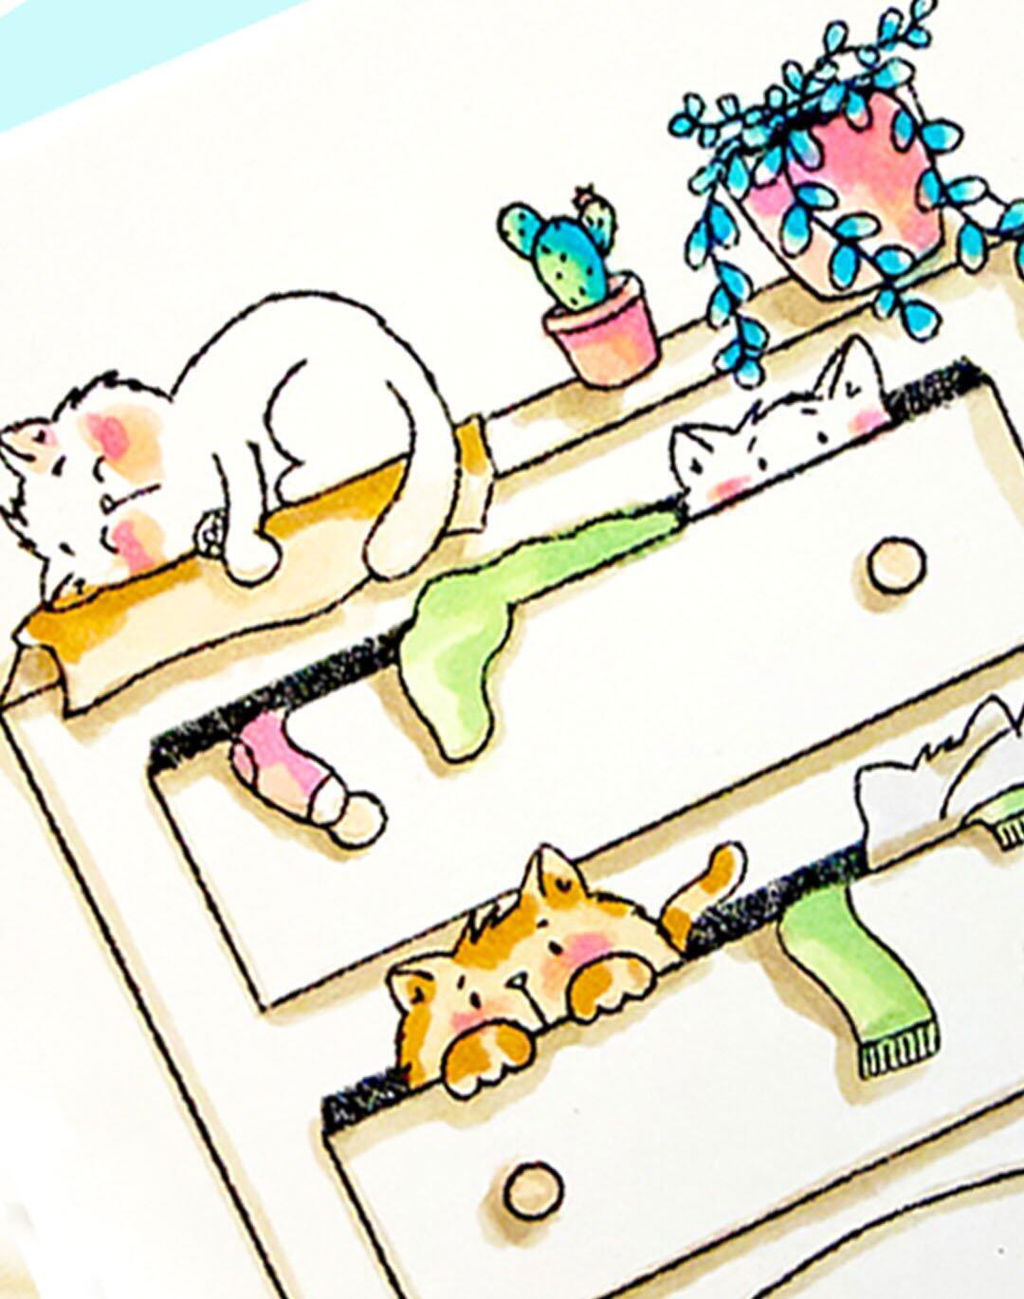
Fun full card design for easy card making! Love the peek-a-boo cats and fun mass card making you can achieve with this set!
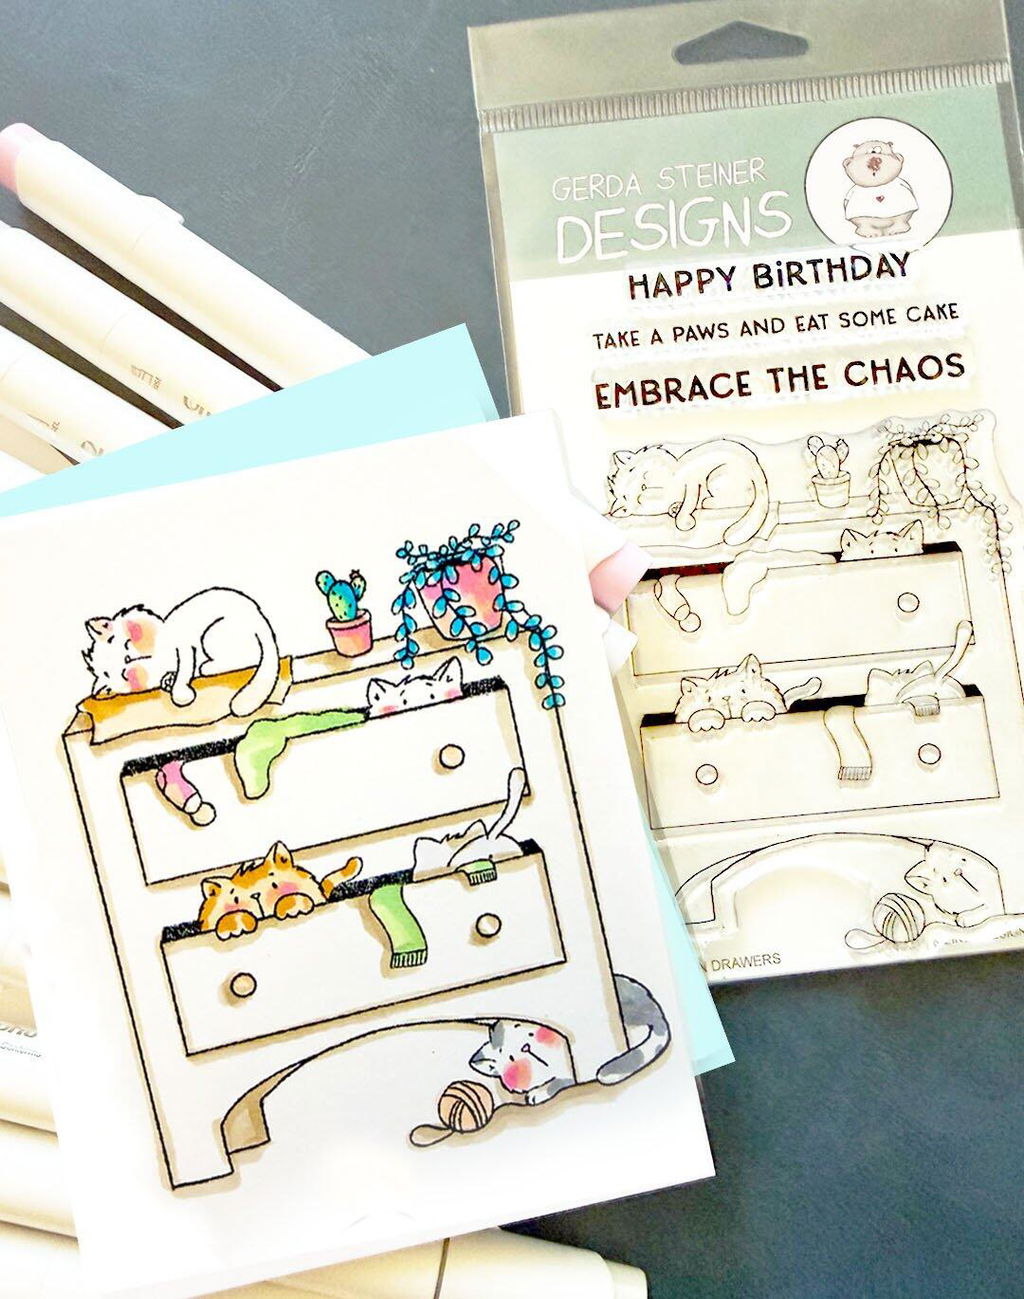

Still love this stamp set! Are there going to be dies for this set?
These are the cutest stamps!! I love every stamp I get from you- these are going to be so fun to play with.